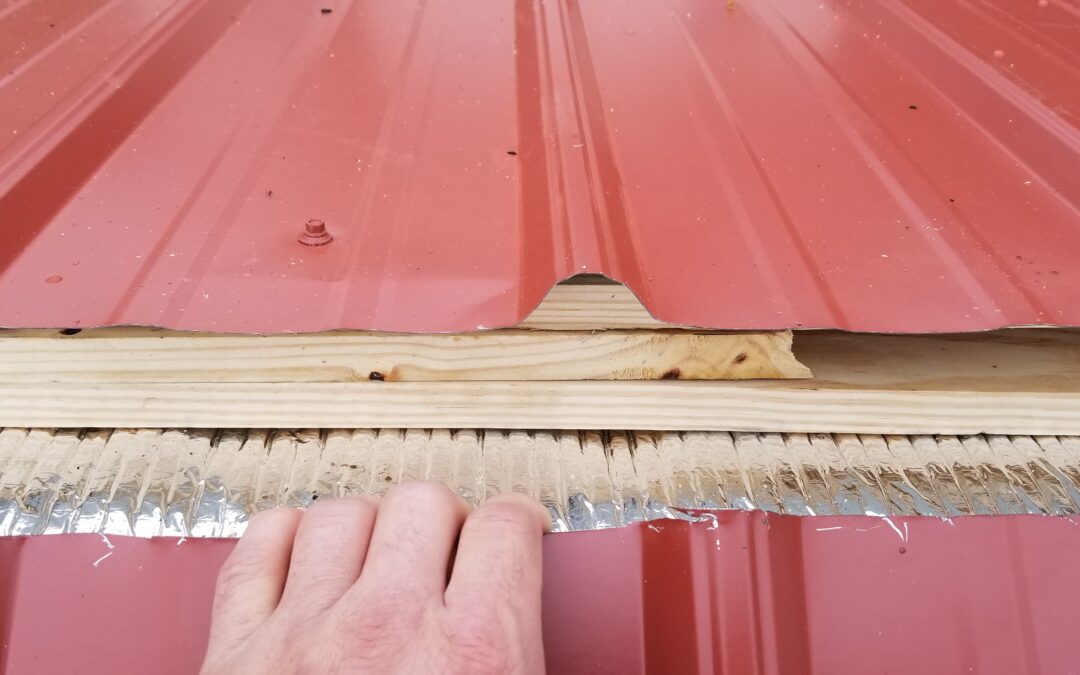
Metal roofs have been steadily gaining in popularity over the past few decades. Standing seam metal roofs, in particular, are sought-after for their durability, energy efficiency, and sleek, minimalist appearance.
If you’re considering making the switch from traditional shingle roofing to a standing seam metal roof, it will be helpful to fully understand the process involved from beginning to end of installation. There are several key steps, and being familiar with them ahead of time will prepare you for the installation process.
Roof inspection and preparation
There are several important steps prior to diving into installation. A thorough inspection of the home’s existing roof is conducted to check for damage, make sure that the roof deck is in good condition, and address any necessary repairs.
A lack of preparation can throw off the whole installation process of a new roof, so be sure not to skip this step.
Measurement and material planning
Obtaining accurate measurements of the roof is required for ordering the right amount of material. Standing seam metal roofs come in a variety of panel lengths, so precise measurements of the roof’s dimensions help in determining the required panels and hardware.
Additionally, plan for underlayment and insulation to ensure the roof’s performance over the years.
Substrate installation
The substrate, also known as the roof deck, serves as the base for the standing seam metal roof panels. Installation begins with securing the substrate, ensuring that it’s even and free of any protrusions that could prevent the panels from making a perfect fit.
Underlayment application
Applying an appropriate underlayment allows for effective weatherproofing and preventing moisture infiltration. It acts as a secondary barrier, providing added protection against leaks and enhancing the roof’s overall performance.
Installing flashing and trim
Flashing and trim components play a key role in preventing water penetration at vulnerable points like valleys, transitions, and roof edges. Properly installing these elements keeps the seal watertight and helps the roof look great, too.
Panel installation
The most important part of a standing seam metal roof is, of course, the metal panels. Proper installation of these panels means carefully aligning and attaching each panel to the roof structure using concealed fasteners.
The interlocking design of standing seam panels provides a secure, weathertight seal that contributes to the roof’s longevity.
Seam folding and crimping
Ensuring that the seams are properly folded and crimped keeps the roof durable and weather-resistant. This step involves using specialized tools to create a tight connection between adjacent roof panels, keeping water from getting in and enhancing the roof’s ability to withstand the elements.
End cap and ridge installation
Installing end caps and ridge components adds the finishing touches to the standing seam metal roof. These components contribute to the roof’s aesthetics while providing additional protection against water and environmental elements.
Weather considerations
Choosing the right day to install your metal roof is instrumental for a successful installation process. Ideal conditions involve dry weather and moderate temperatures. Installing a metal roof when it’s very hot or very cold out can affect the quality of installation– and make the process uncomfortable for your installers.
Professional installation
DIY metal roof installation is theoretically possible for highly experienced individuals, we’d recommend leaving the installation of your standing seam metal roof to the pros. We’ve installed hundreds of metal roofs, and the installation of your roof will greatly benefit from our expertise and adherence to industry standards and warranties.If you’re looking for an energy-efficient, long-lasting roofing solution for your home, look no further than a standing seam metal roof from Metal Roof Pros. If you’ve got questions about the installation process or anything else, give us a call today.

